Self-Study 5: Lighting and Shadergraph
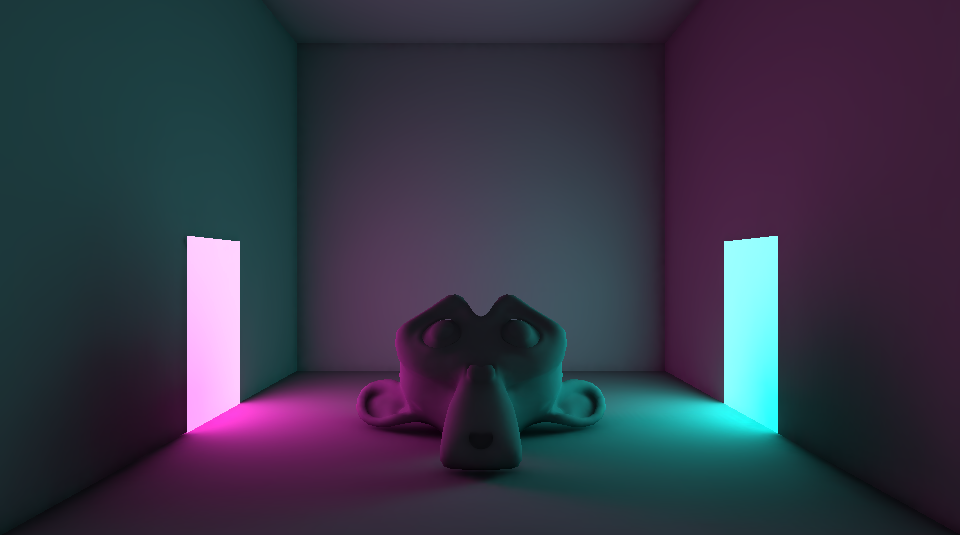
For the first part of this self-study module, I began with replicating the Brackey's tutorial on baked lighting. I was able to get everything in the scene okay, though I had to open the .blend file for the model of the monkey to export it as an .fbx file. After doing this, I constructed the scene like in the Brackey's video, and began setting up the lighting materials. I haven't experimented much with lighting in Unity outside of tutorials in other units, but I found it was relatively simple. I chose to change the colours of the lights from the Brackey's to a Pink light and a Blue light, which I think ended up looking really nice. Nothing in the lightmap baking was all too difficult, though I did find some settings were simply not where they are in the Brakcey's video, but I was able to find them in the end and recreate a very similar looking scene.
I was then tasked with putting a custom animated shader on the monkey in the scene. Between this devlog and the Tutorial 3: Navigation, I had switched the boot drive on my computer (2TB M.2 for $170, how could I not) and forgot to grab the Unity project from the last tutorial off my previous boot drive. This means I had effectively lost all my progress (shaders, scenes, scripts, everything) since the last tutorial, and would need to remake the Franklin Square scene I had made for the last tutorial. This specifically means I didn't have the water shader I made in the previous tutorial, but luckily I was smart enough to outline my process of making the shader in my last devlog post and was able to recreate the effect for this self-study module, pictured below.
Next, I had to add some baked lighting and a custom shader to my Franklin Square scene, which I did have to recreate from scratch for this self-study module. I did not spend as much time as I did last time, as I knew how I wanted to attack it the next time around. The recreation I had done this time around, doesn't necessarily line-up with how the Franklin Square fountain looks in real life, but I am not necessarily aiming for realism, just aiming to learn the techniques outlined in the self-study and tutorials.
With reconstructing this scene, I did have to basically repeat Tutorial 3, and it went about exactly as smoothly as it did when I did it the first time. Adding the Navigation Mesh and the Navigation Agent went perfect, and I was able to get the 'player' moving to where the user clicks on the screen, though I did struggle to get it to understand that it needed to go up the fountain a specific way. The final navigation mesh wasn't very clean and could absolutely use some tweaking, though it didn't cause me much issues after the bit of tweaking I did to it.
The only struggles I had this time around was trying to get the Player capsule to move with WASD and not have bugs. This was surprisingly quite annoying to fix, but I think I had misreferenced the player's Rigidbody component in the movement script. This misreference led to about 30 minutes of ripping my hair out, as the fixes I tried had various adverse effects e.g. ignoring colliders, ignoring tags and layers, ignoring gravity while simultaneously acknowledging gravity in every context I didn't want it to. Eventually, as previuously mentioned, I did rectify all of this and was able to achieve a result similar to Tutorial 3.
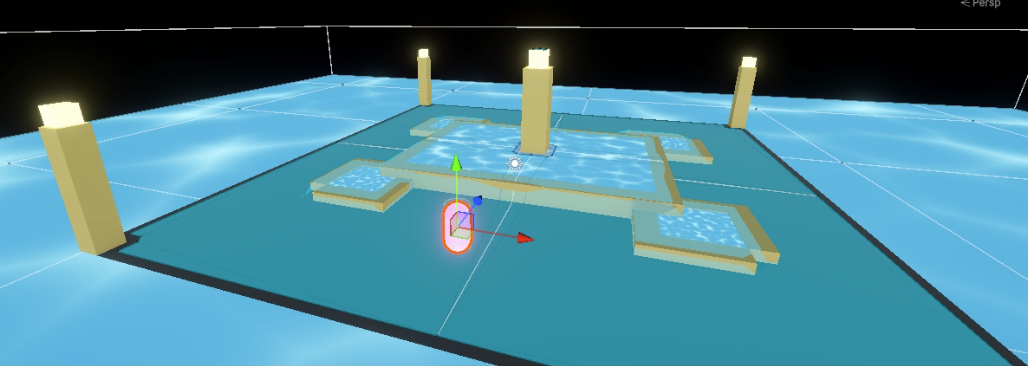
My baked lighting is on 4 'lightpoles' and on the pillar in the middle of the fountain, as the player can never cast a shadow from these because of their height and angle (they aren't directly overhead). There are the 5 baked lights and a realtime calculated Directional light with an intensity value of 0.3, just to make the ground more visible. The animated shader, again, is the water shader I had made from Tutorial 3, and was able to add it to the main fountain and the four corner off-shoots. I do recognise that it looks a bit stretched in the main fountain, but I'm sure this can be rectified by making the 'waves' more dense like they are in the corners.
References:
Leave a comment
Log in with itch.io to leave a comment.